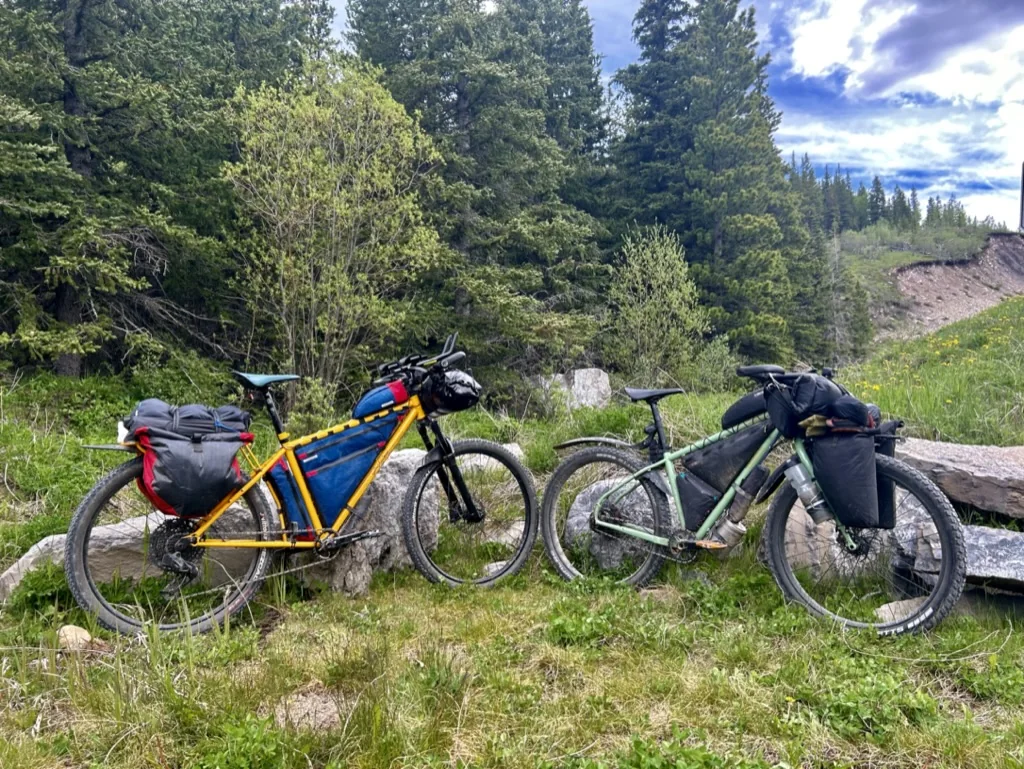
Two fully loaded bikepacking bikes beside a rocky foothills trail
ABS Resource

Bikepacking Basics

Everything you need to get out for your first overnight by bike.

Beginner-friendly Practical first-overnight guide

Ride somewhere.

Carry what you need.

Sleep. Ride again.

Bikepacking can look complicated because the internet is full of specialized bikes, custom bags and ultralight gear. The basic idea is much simpler: ride somewhere, carry what you need for the night, sleep, and ride again the next day.

You do not need a perfect bike or a complete set of bikepacking bags to start. A short overnighter on familiar roads can teach you more about what works for you than weeks of researching equipment.

The best first bikepacking setup is usually the one that gets you out the door with the gear you already understand.

Start with the trip

Not the gear.

Before deciding what to buy, decide what kind of first trip you want to take. The requirements will change for a quick overnighter from town compared to 5 days in the mountains.

For a first trip, simple is useful. Choose a route with a manageable distance, predictable surfaces, known water, and an obvious place to sleep.

That does not make it less legitimate. An overnight ride of 30 or 40 kilometres can still teach you how your loaded bike handles, whether your sleep system works, how much food you actually eat, and which pieces of gear you never touched.

The bike

What bike works for bikepacking?

Almost any reliable bicycle can work if it matches the route. The important question is not whether the bike is a gravel bike, mountain bike, or purpose built bikepacking bike. It is whether the tires, gearing, brakes, and overall setup make sense for the surfaces you plan to ride.

01

Gravel bikes

Gravel bikes can be excellent on…well…gravel roads, pavement and smoother doubletrack. Many can even tackle a patch of single track or rocky terrain (if you know how to handle the bike). They are efficient over long distances, but narrower tires and higher gearing can become less comfortable when roads get rough, loose or steep.
02

Mountain bikes

Mountain bikes give up some speed on easy roads but gain comfort and control on rough roads, loose descents, rocky trails, and more technical terrain. For many Alberta routes, a rigid or hardtail mountain bike is an extremely versatile choice. A tire width of 2.35-3” makes for a much more comfortable ride than 45mm.

03

Use the bike you already have

If your existing bike is reliable and appropriate for the route, start there. Fit, comfort, and mechanical familiarity matter more than having the perfect equipment.

Carrying gear

You need to carry gear. You do not need bikepacking bags.

Bikepacking bags are useful because they attach directly to the bicycle and can keep the load compact, but they are not a requirement.

A rear rack and panniers, a small backpack, drybags strapped securely to a rack or handlebars (I’ve seen this done and work at -22C in a snow storm!), or a mix of systems can all work. The important part is that the load is stable, does not interfere with braking or steering, and does not rub on the tires.

Where weight goes matters

Heavy items generally ride best low and near the centre of the bike. Light, bulky gear such as a sleeping bag or insulated clothing can go farther forward or behind the saddle.

Avoid putting everything into one large bag if it creates a heavy swinging load. A balanced bike usually handles better and is easier to lift, push and maneuver.

You will see that packing the bike is a never-ending puzzle- a tinkerer’s paradise searching for the most efficient organization. Just remember, what works for one person, might not be what works best for you.

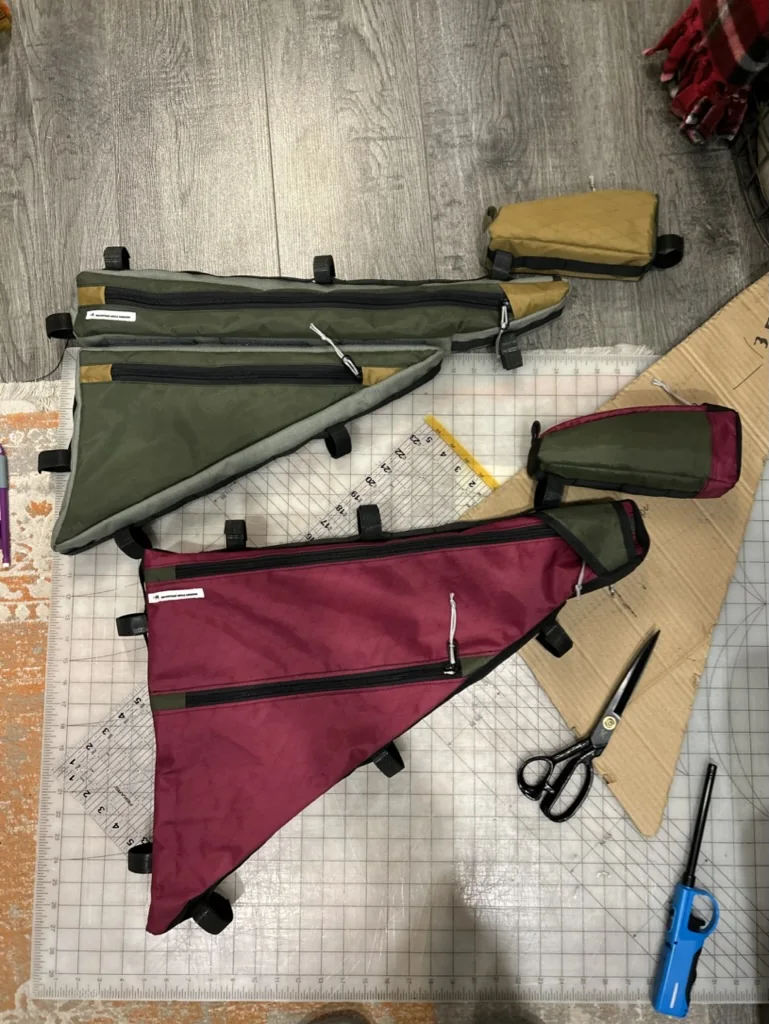
Custom frame bags laid out on a work surface during construction
Bikepacking gear can be bought, adapted, improvised or made. The useful setup is the one that works on your bike.
The overnight essentials

Most setups solve the same basic problems.

The exact gear changes with the season, route and personal comfort, but most overnight setups solve the same basic problems.

01

Sleep

Shelter, sleeping bag or quilt, and sleeping pad appropriate for the expected conditions.

02

Clothing

Enough insulation and weather protection to stay comfortable after riding stops.

03

Food

Enough calories for the ride plus a reasonable margin.

04

Water

Carrying capacity plus a plan for where the next reliable source comes from.

05

Navigation

The route downloaded for offline use and enough map context to solve a problem.

06

Repair

Tools and spares for the failures you know how to fix.

07

Light

A headlight or headlamp even if you do not expect to ride after dark.

08

Communication

A charged phone and, where the route warrants it, a satellite-capable option.

09

Personal items

Medications, basic first aid, sunscreen, hygiene items, and anything else you genuinely need.

The goal is not to prepare for every possible event. It is to cover the consequences that would make a normal problem difficult to manage.

Sleep

Keep the sleep system simple.

For many riders, shelter and sleep gear make up the largest part of the load. Tents are easy to understand and work in a wide range of conditions. Bivy sacks, tarps and hammocks can also work, but each has trade-offs.

For a first trip, use a shelter you already know how to set up. Practice at home before relying on it after a long day of riding.

Sleeping bags and quilts should be chosen for realistic nighttime temperatures, not the warm afternoon when the trip begins. A sleeping pad is both comfort and insulation from the ground.

Clothing

Pack for the weather after you stop riding.

Cycling generates heat. Sitting at camp does not.

A common mistake is judging clothing needs by how warm you feel while riding. Bring enough insulation to be comfortable when stopped, along with rain and wind protection appropriate to the forecast.

Alberta can produce large temperature swings between afternoon and night, especially in the foothills and at higher elevations. Conditions should drive the clothing decision rather than the calendar.

Quick tip: A general rule is to never head into the mountains without a puffy- it’s almost a guarantee you will need it in the mornings around camp.
Food

Food can stay uncomplicated.

Bikepacking food does not need to be an elaborate backcountry menu. For one night, food you already like and know you can eat while riding is usually the easiest choice.

Some riders cook dinner and breakfast. Others carry food that requires no stove. Either approach works.

What matters more is having enough energy for the riding and knowing where your next resupply opportunity actually is. A town name on a map does not guarantee a grocery store or convenience store.

Water

Water deserves more planning than food.

Water is often the more important constraint, especially through dry parts of central and southern Alberta.

Know how much water you can carry, where your reliable sources are, and how to treat the water. Do not assume every creek or pond shown on a map will contain usable water.

For a short first trip, choosing a route with a known campground, store, or reliable water source removes a major planning variable.

Loaded-bike handling

Your loaded bike will feel different.

The extra weight changes braking, climbing, steering and how the bike behaves on loose surfaces.

Do a short loaded test ride before the trip. Ride some rough ground. Climb a hill. Make sure bags do not move, straps do not enter the wheels and nothing rattles.

If the bike feels difficult to control in the parking lot, it will not improve after five hours of riding.

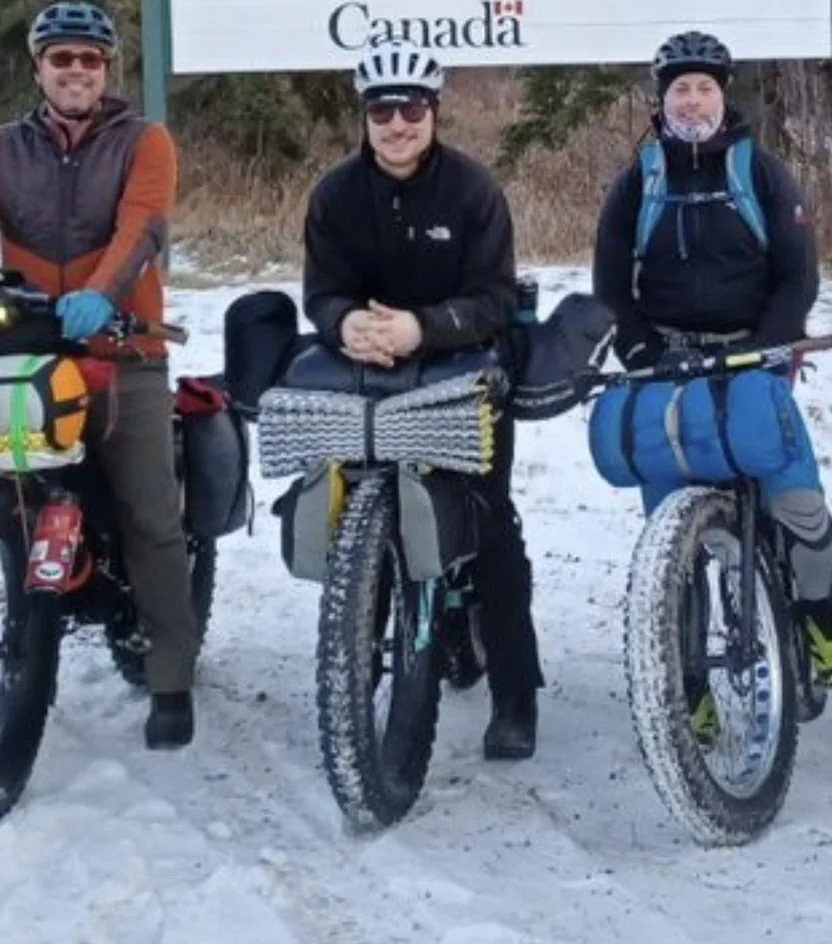
Three riders with heavily loaded fat bikes during a winter bikepacking trip
There is no single correct packing system. These bikes are carrying the same basic idea into a very different kind of trip.
A simple first-overnighter plan

Make the logistics intentionally boring.

A good first trip can be intentionally boring from a logistics standpoint. That leaves more attention for learning what it feels like to travel by bike with everything you need.

01

Choose one night rather than several.

02

Keep each riding day within a distance you are already comfortable riding.

03

Use familiar or well-understood roads and trails.

04

Pick a known campsite or legal overnight location.

05

Make water and food easy to obtain.

06

Tell someone where you are going.

07

Leave enough daylight that a slow day does not become a night-navigation problem.

Then ride it. Take note of what worked, what annoyed you and what you never used.

After a few trips

Upgrade after you know what problem you are solving.

After a few trips, specialized equipment begins to make more sense because you have real problems to solve. Maybe panniers move too much on rough roads. Maybe your tent is too large for the bike. Maybe you want more water capacity, lower gearing, or a lighter sleep system.

Those are useful reasons to change equipment.

Buying a completely new setup before the first trip often means solving problems you do not actually have.

Ride first. Refine second.

What Bikepacking Basics does not cover

Some trips ask more of the planning.

As trips become longer or more remote, route planning becomes more important than the basic packing system.

ABS maintains separate resources for the two areas that deserve more detail:

Those resources are intended to sit beside this one. Bikepacking Basics gets you out for the first overnight; the other guides help when the route begins asking more of you.

The short version

A few answers before you overthink it.

QuestionPractical answer
Do I need a special bike?No. Use a reliable bike that suits the route.
Do I need bikepacking bags?No. Any secure, stable carrying system can work.
How far should my first trip be?Within a daily distance you already know you can ride comfortably.
Do I need to cook?No. A stove is optional, especially for a one-night trip.
What matters most?Sleep, weather protection, water, navigation, basic repairs and a workable route.
What should I buy first?Ideally nothing until a real trip shows you what is missing.